HTML templates
HTML templates are used as the content of emails. This kind of template allows you to create a fixed layout, for example if you want to add specific company styling like a font or logo's.
Creating an HTML template
Please take the following steps to create an HTML template:
- Go to Settings.

- Click on a Templates

- Click on New.

- Enter the label and the name of the status in the Label and Name fields respectively. If you enter a label and press Tab, BizzStream will automatically propose a name. The name has to be unique within the environment.
- Ensure that the Purpose field has the value Document.
- Choose a document definition in the Document Definition field.
- Set the Locale.
- In the field Based On, choose for HTML.
- In the Page field, choose the desired size (A3, A4, letter).
- The Direction field gives you the option to choose from Portrait or Landscape.
- Click Ok to save the new template.
Adding fields & lines
The template editor can be seen as the canvas for the template. You can add text, tables, markup, images, links and BizzStream Expressions, and if you want you can even work in plain HTML. All the fields that are in the document definition are available in the editor, including the special fields and translations.
To show the actual values from a document in a template, the template uses references to the document.
For adding a field/line to the template take the following steps:
- Expand the fields/lines pane on the left side of the editor.
- Click on a the field/line you want to add to the template. (lines should always be used in combination with a table)
In the editor, for fields it will look like this:
{!fieldName!}
In the editor, for lines it will look like this:
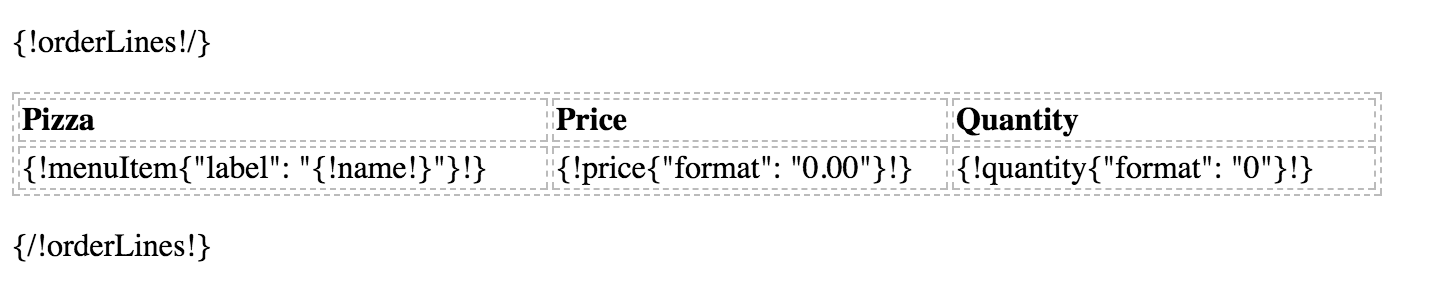
Styling of a template
An important aspect of a template are the styling and aligning options. For this you can use a table, by defining columns you can easily align the fields on the template.
Adding a table
- Go to Tables.

- You can provide the amount of columns and rows.
Adding an image
- Go to Images.

- Give the source URL of the image.
- You can add an image description, this will be used as the description (in case the image gets blocked by the email client).
- You can specify a dimension.
If you want to use an image from a site secured with SSL, the full certificate path should be published.
Be aware images might not loaded due to mail client restrictions (for example in Gmail this doesn't work). But when adding the images in a separate attachment they will be shipped with the e-mail.
Showing HTML editor
- Go to HTML.

Conditionally showing lines
Sometimes you only want to show a line if a conditions has been met. You can add a condition to a line.
{!IF [expression] !/}
The content of this part is only shown if the condition has been met.
{/!IF!}
Here you can use the same expressions as are being used when filtering in reference fields.
{!IF {!total!} > 500 !/}
Thank you for this big order!
{/!IF!}
This functionality will currently only work for top level fields. So it's not possible conditionally show (fields or columns within) lines.
Add translations to templates
You can add translations to templates, so that you can use one template to send mails/attachments to users with different languages.
{!_translation.yourTranslationKey!}
yourTranslationKey refers to the predefined translation key in the Translation page.
Setting the Welcome Mail Template
In an environment, a template can be used to change the message of the welcome mail which is sent to new users in the environment. The new user details can be accessed via the currentUser in a template expression.
If you want to set a template as welcome mail template you can change the Purpose field in the template editor and set it to Welcome Mail. The Ui allows you to set more than one template as Welcome Mail. However, in that case only the oldest one will be used.
Setting the Renderer Version
You can set the renderer version. Most likely you would want to choose the latest version in most circumstances. But there are some differences:
- 1.0 has no support for rendering different fonts. All templates use the font DejaVu;
- 1.1 has added support for rendering Microsoft TrueType core fonts and Liberation fonts in Render PDF and Save PDF rules;
- 1.2 also supports these fonts in Send Email rules;
- 1.3 uses a better rendering engine to render HTML, based on Chrome, and applies a default margin of 1cm on all sides.